Pointer
Our toolkit comes with a solution to implement a laser pointer that can interact with a UI.
You can use the laser pointer function stand alone and have it interact with 3D objects in your scene simply by adding a static body and collision shape to the 3D object and adding a bit of code.
Alternatively you can use the Viewport 2D in 3D object to introduce a 2D UI, the laser pointer will mimic a mouse and you can thus use a stock standard Godot 2D scene to render on the viewport. This also allows for testing the 2D interface within Godot by simply running the 2D scene and using your mouse on the desktop.
Setup
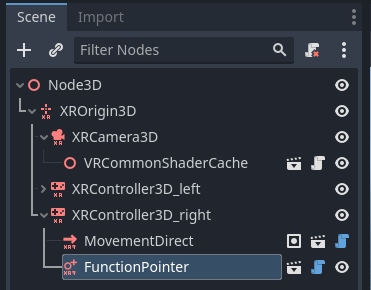
The pointer is implemented as a function scene. Simply add the scene to the XRController3D node that needs to act as a pointer. You can add the pointer to the controller node for both hands and switch between hands by enabling/disabling them but that falls outside of this writeup.
When the pointer interacts with physics bodies or areas it will send a signal or call a method related to our pointer feature if implemented on that body or area.
By adding a script to your physics body that extends XRToolsInteractableBody or a script to your area that extends ‘XRToolsInteractableArea’ the required signals are added to that object and you can simply implement that logic.
For convenience our toolkit has an object that fully implements the pointer logic to simulate a 2D interface you can interact with in XR.
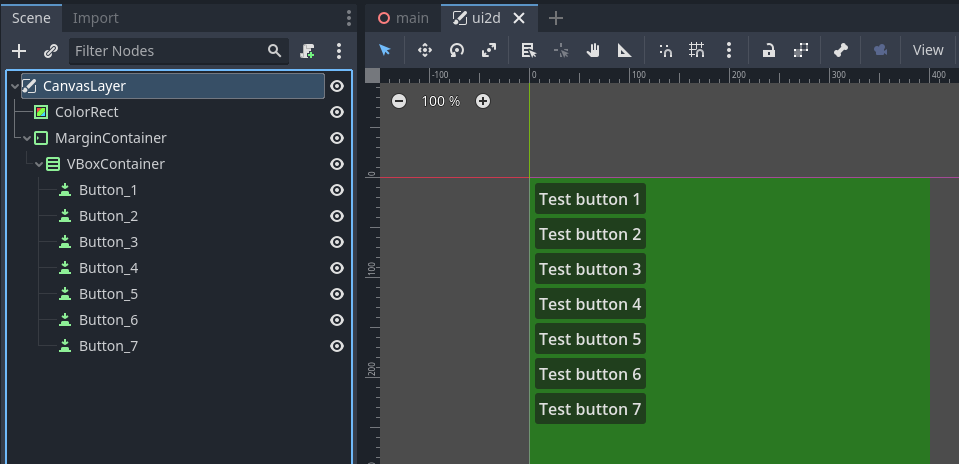
First we need to create the 2D interface we want to show. We do this by creating a separate Godot 2D scene. For now I’ve created something very simple like so:
Simply add the Viewport2Din3D node to your scene and configure its size. Now you can assign your 2D scene so it gets rendered to the viewport.
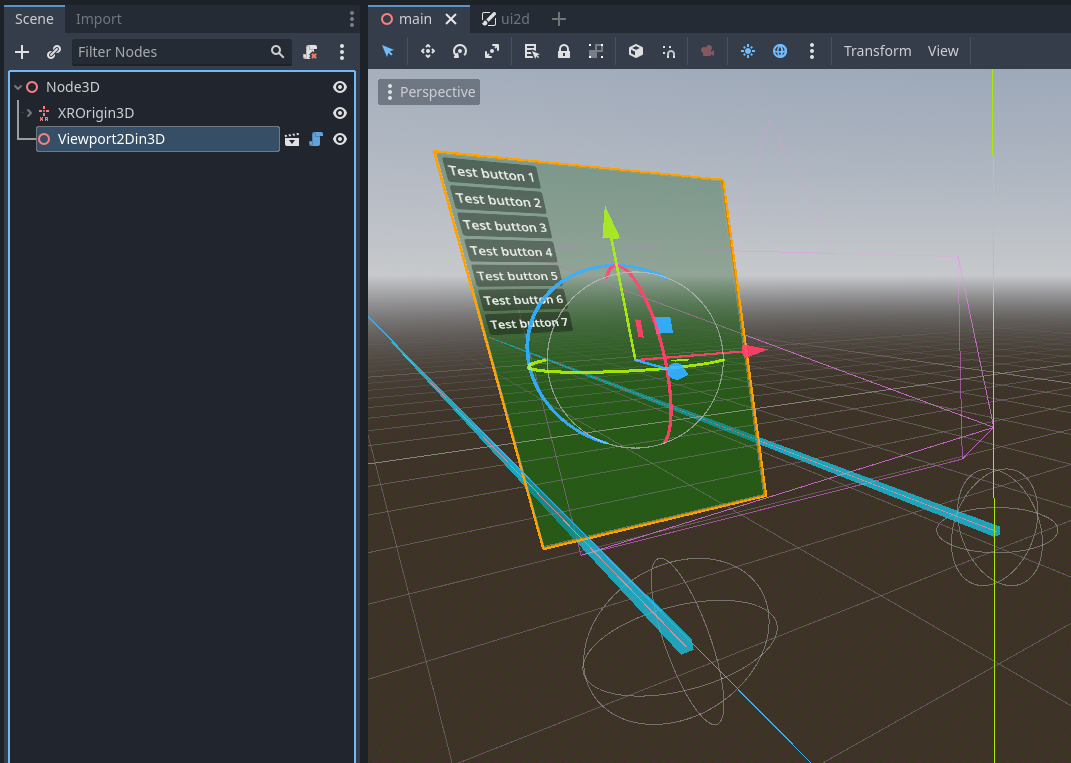
When you run your game you can interact with the UI with your pointer.
note if you edit your 2D scene while your 3D scene is still open you may not see your changes in the 3D scene right away. Godot currently does not trigger a reload in the 3D scene. It will show the edited 2D scene after you reload the 3D scene.
Configuration
XRToolsFunctionPointer
| Property | Description |
|---|---|
| General | |
| Enabled | Enables the pointer |
| Y Offset | Positions the laser up/down |
| Distance | Specifies how far our pointer tests for collisions |
| Active Button Action | The action in our action map on which we trigger the pointer action |
| Laser | |
| Show Laser | Sets whether we see our laser |
| Laser Length | Switches between showing our full laser or stopping it on collide |
| Laser Material | Set a custom material for our laser |
| Laser Hit Material | Set a custom material for when our laser is colliding |
| Target | |
| Show Target | Sets whether we see our hit indicator |
| Target radius | Sets the size of our hit indicator |
| Target Material | Set a custom material for our hit indicator |
| Collision | |
| Collision Mask | Defines the physics layers on which our laser tests for collisions |
| Collide With Bodies | Enables interacting with physics bodies |
| Collide With Areas | Enables interacting with areas |
| Collision | |
| Suppress Radius | Radius within which we suppress collisions (e.g. hand too close to keyboard) |
| Suppress mask | Defines the physics layers that we suppress within the radius |
XRToolsInteractableBody/XRToolsInteractableArea
| Signal | Description |
|---|---|
| pointer_event(event) | Signal emitted when pointer interacts with this node |
Viewport2Din3D
| Property | Description |
|---|---|
| Physics | |
| Screen Size | Size of our screen in 3D space |
| Enabled | Enables the ability to interact with the viewport |
| Collision layer | Collision layer for our screen in 3D space |
| Content | |
| Scene | The 2D scene to display on the viewport, alternatively you can enable editable children and add this as a child to the “Viewport” node |
| Viewport size | The size of our viewport into which our 2D interface is rendered |
| Update Mode | Sets how often we update our viewport |
| Throttle FPS | If Update Mode is set to Update Throttled, sets the FPS at which we update our viewport |
| Rendering | |
| Material | Set a custom material used to display our viewport content |
| Transparent | Specify whether our viewport is transparent |
| Unshaded | Disables lighting calculations on our screen |
| Filter | Enables filtering to create a smoother display of the 2D UI |
Unshaded and Filter are added for backwards compatibility and are ignored if a custom material is set.